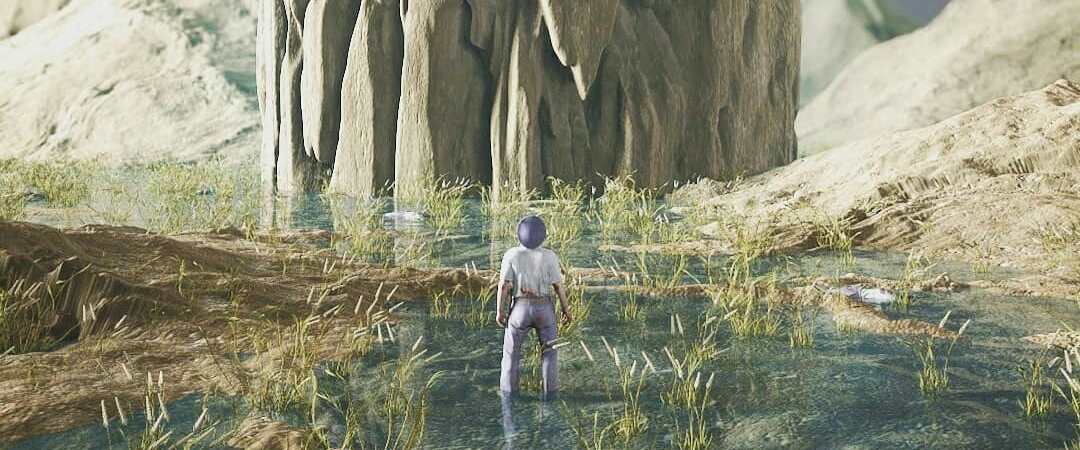
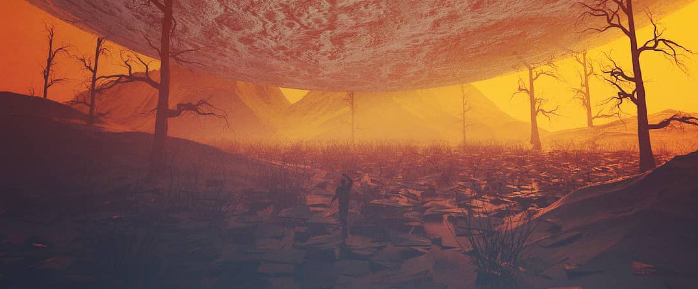
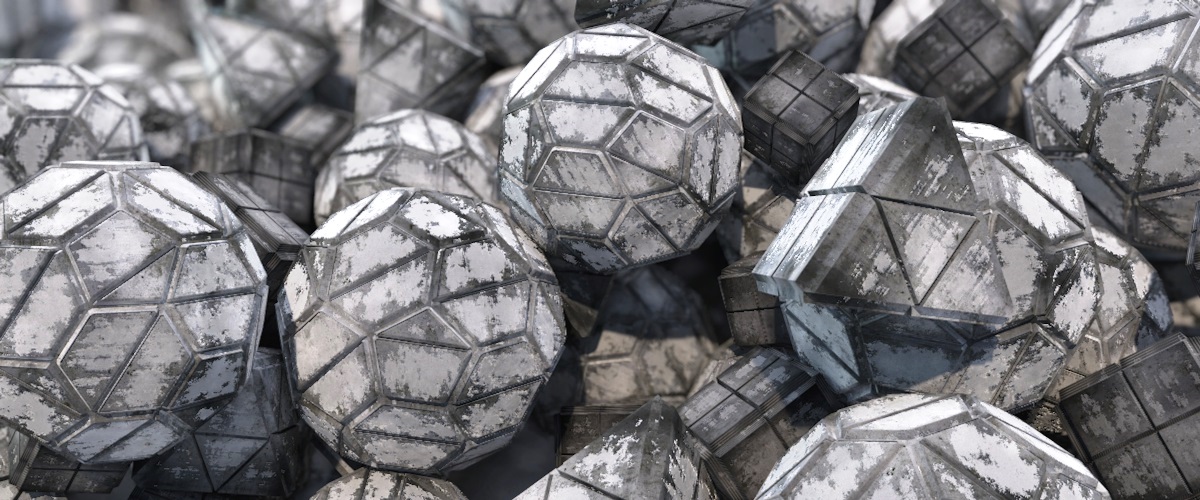
Quick Vibrant Geometric renders using Anisotropy in Cinema 4D

Quick Vibrant Geometric renders using Anisotropy in Cinema 4D

What is Anisotropy?

Anisotropy is the property of being directionally dependent, which implies different properties in different directions, as opposed to isotropy.
In the field of computer graphics, an anisotropic surface changes in appearance as it rotates about its geometric normal.

Cinema 4D defines this as follows:
Anisotropic effects are produced when many fine microscopic scratches are oriented in a specific direction on an object’s surface (as is the case with brushed metal, for example). 
Specular highlights and reflections will then be "dragged” in the direction of these scratches. 
In addition to microscopic scratches, larger ridges can also be created in the direction of the scratches.

Setting up the geometry.

As stated in the text above, anisotropic effects can add many (fine microscopic) details in to an object's surface.
This way there's no need for intricate modelling to get more detail in your surfaces.

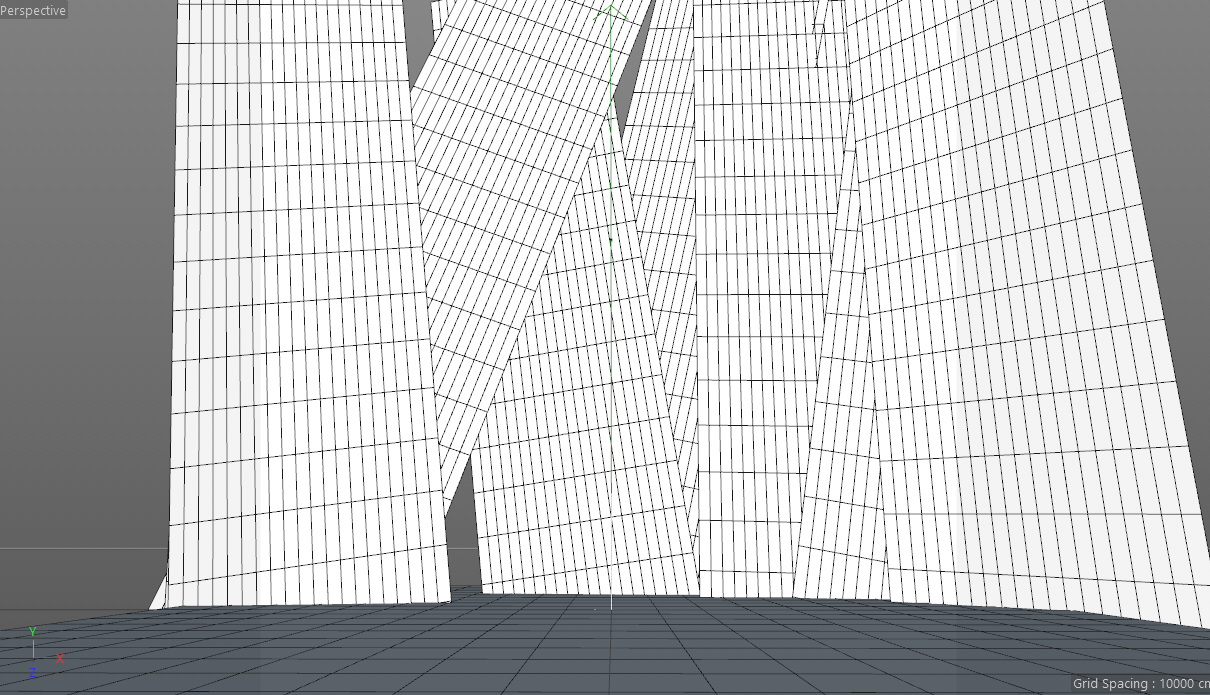
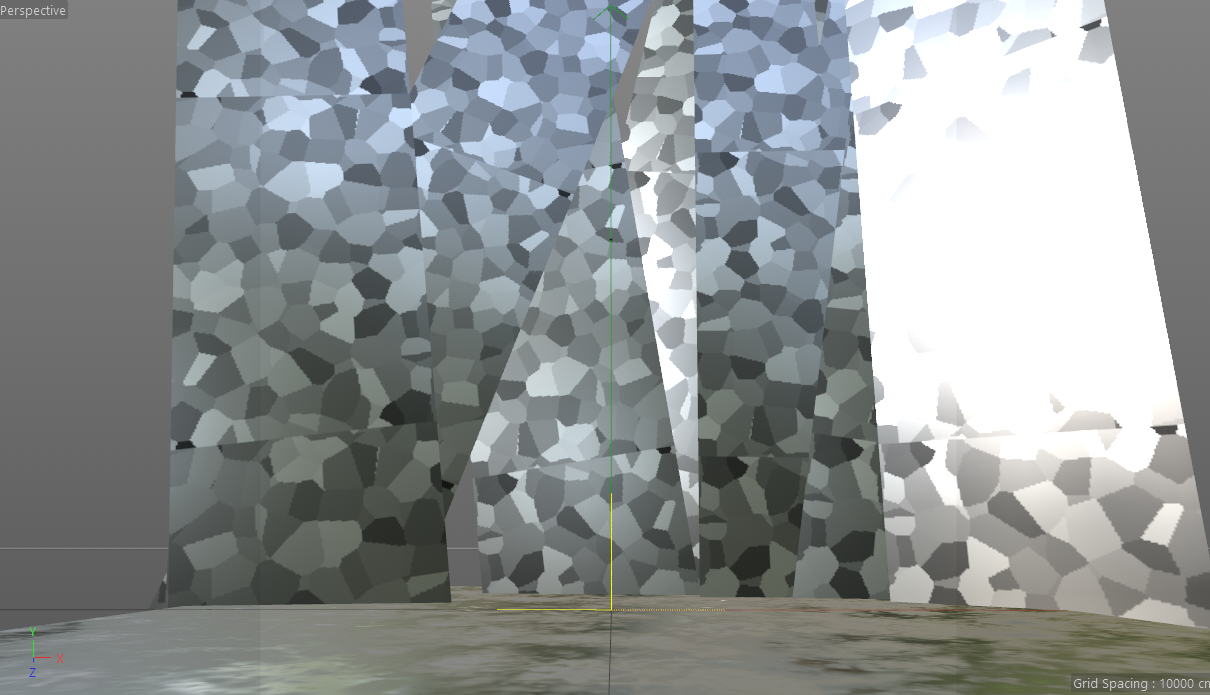
Below I've set up a scene with a couple of randomly positioned planes and another plane serving as the floor.
Nothing too fancy.
Reflectance and Anisotropy. 

Since R16 the Reflection Channel has been replaced by the Reflectance Channel
Anisotropy is part of the Reflectance channel rather than the Lumas Shader to be used in the Luminance ChanneL.

Under 'Layer Anisotropy' you can find a number of settings used to specify the look you are after.
There are four preset Patterns you can use:
- Circular
- Box
- Diagonal
- Lattice
In addition you can add a custom Pattern and alter the Layer Anisotropy's projection (Radial/Planar).

If you are in lack of time to study every Pattern, the guys at GSG have made a very usefull plugin called Topcoat
Topcoat is a texturing plugin that makes reflectance and adding realistic reflection to your scene easy and beautiful.
Apart from 8 reflection types and 12 masks and alpha types, there's also built in Anisotropy for instant brushed metal looks.

The goal with the current scene is to make the random planes reflect light anisotropically and add some basic blurry reflections to the floor.
Add one material on the planes, the other on the floor and start experimenting with what looks best.

I combined a circular and vertical pattern to the random planes and ended up with this:
Make it pop!

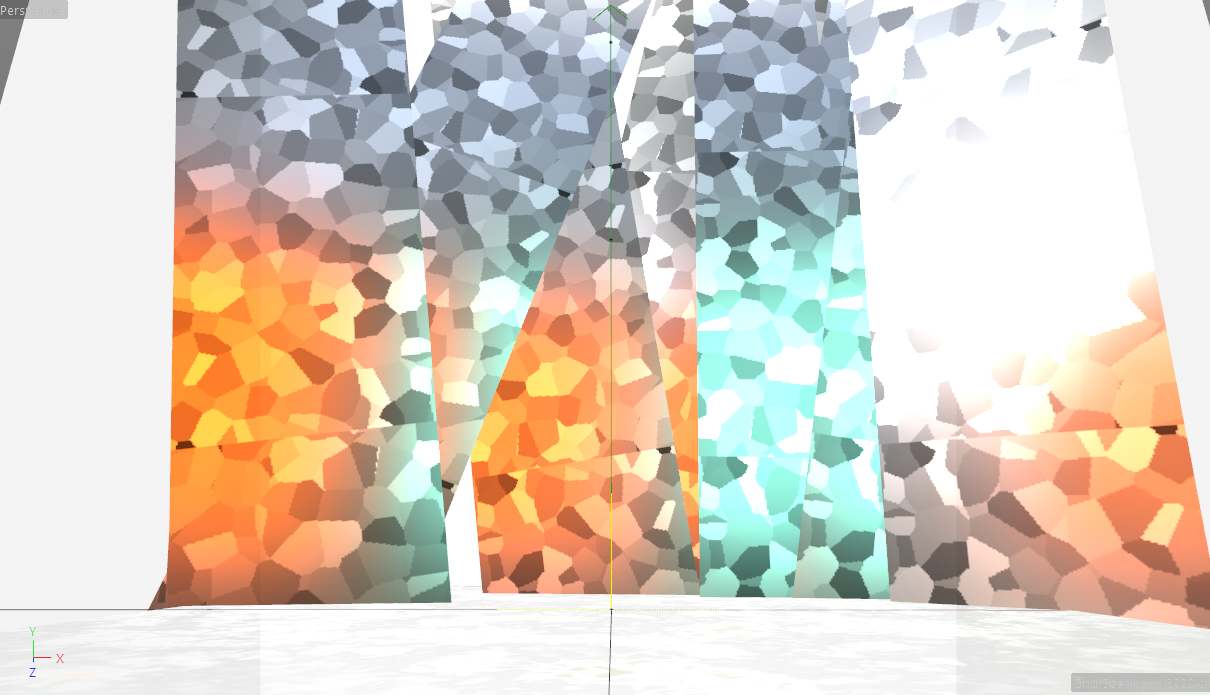
Without a light source there's no reflection, so you will need to add a few light sources to the scene first.
Keep your color scheme in mind and add two or three studiolights (lightsource + luminance plane) to the scene.
The lightsources will light the scene, the luminance planes will bring out the anisotropic properties.
The brighter the luminance, the more it will bring out the anisotropic effects!
Final result:
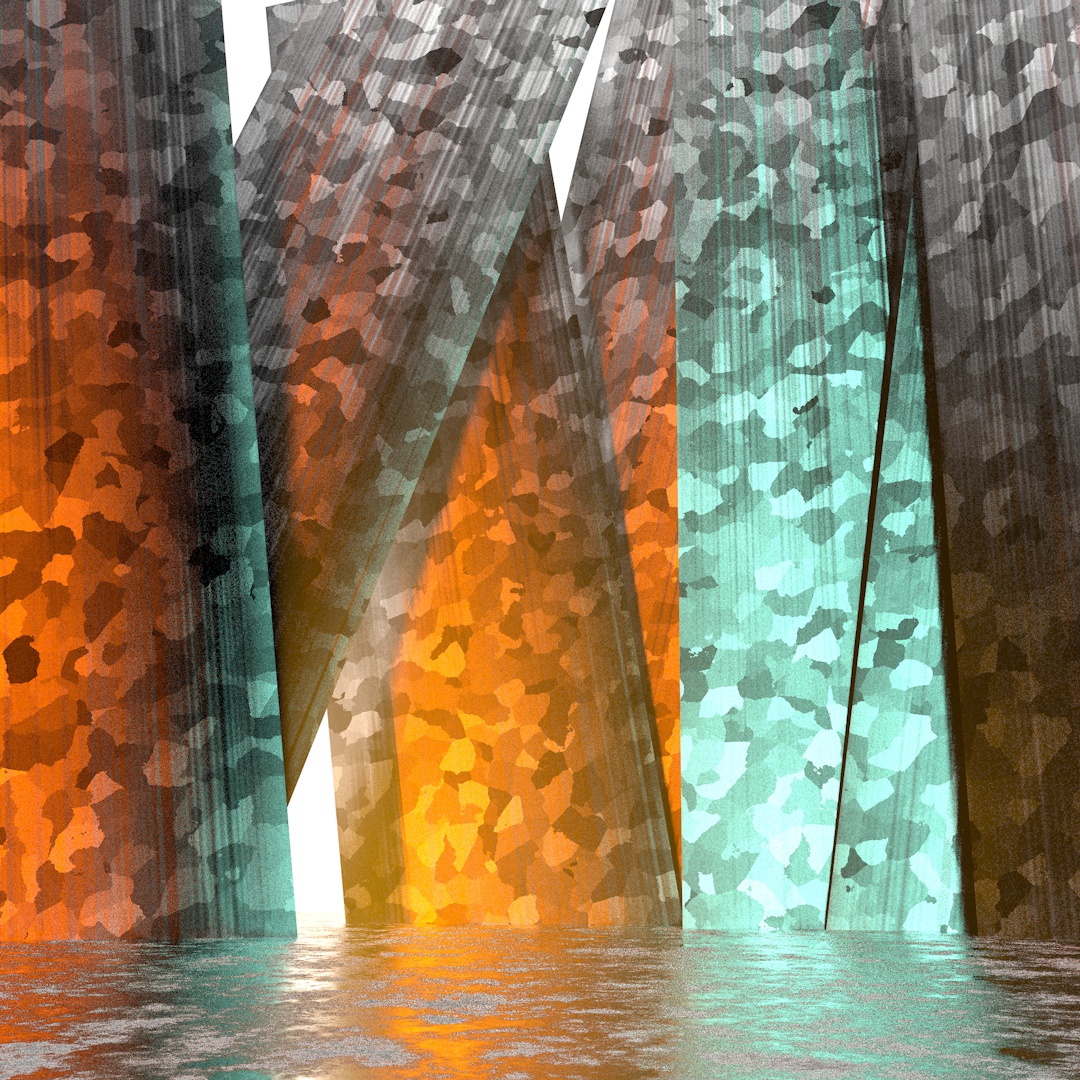
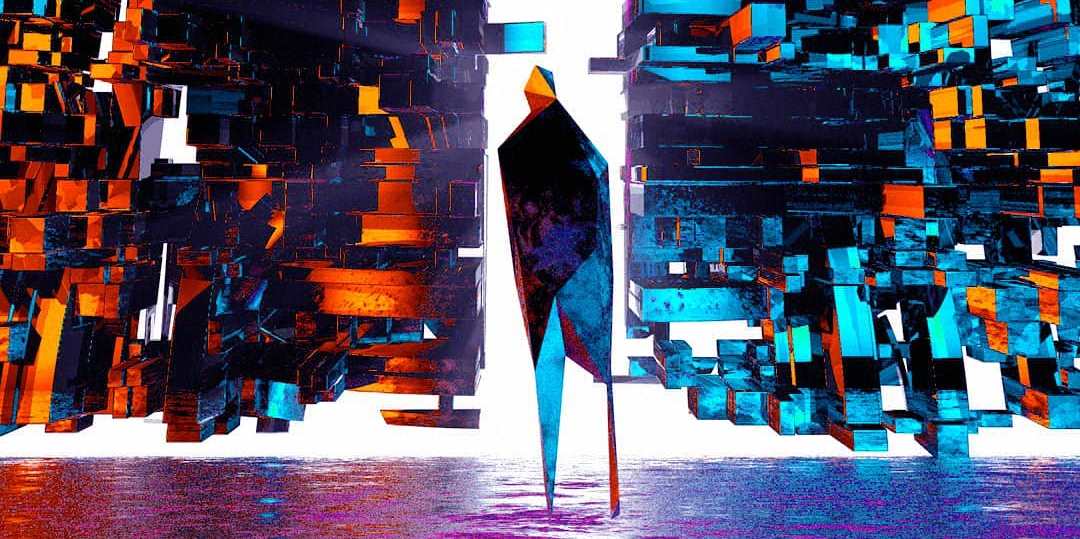
Desktopwallpapers for life! ;-)
Create an Abstract Spaceship using the (Mo)Extrude tools in Cinema 4D

Create an Abstract Spaceship using the (Mo)Extrude tools in Cinema 4D

What are the Extrude Tools?

The basic Extrude tools have been a part of Cinema 4D for as long as I can remember.
We will be using the following Extrude tools to create our spaceship.
- Extrude
- Matrix Extrude
- Smooth Shift

The fourth and more recent Extrude tool is the Motion Graphics Extrude Deformer, which I will discuss seperately.

Primitive to Finish.

Allthough we are creating an abstract/intricate shape, we will start off with a primitive object.
By subdividing the object we can add extra polygons to that object.
We can select those polygons and apply various combinations of extrusions, extra subdivisions, more extrusions, etc...

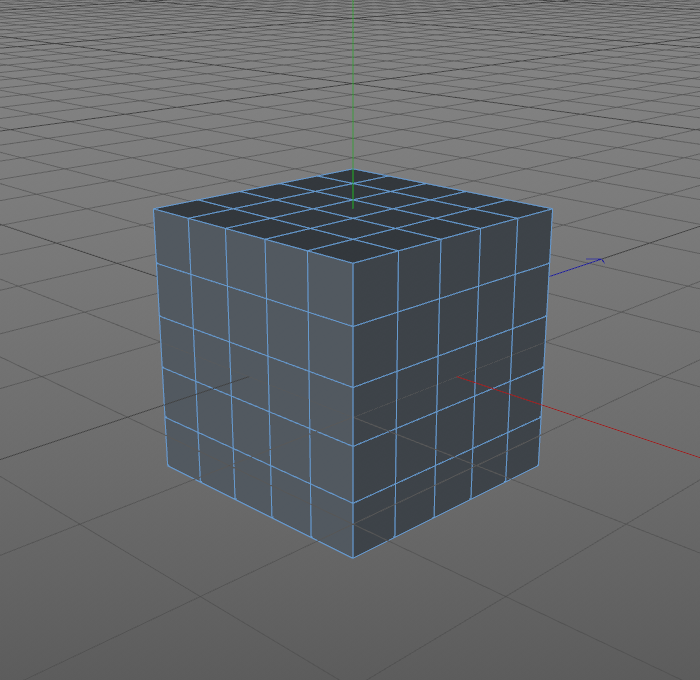
For the sake of simplicity, let's insert a cube into the scene.
The standard Cube has only one segment per plane (x,y,z).
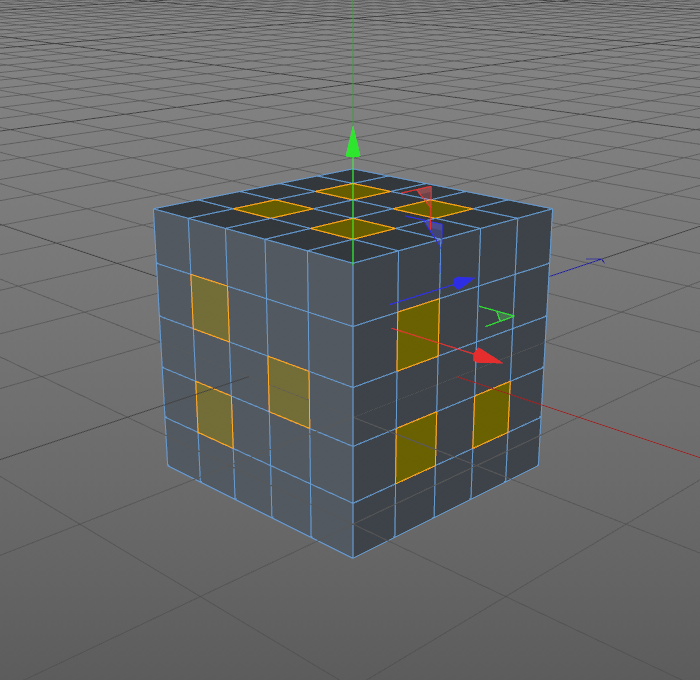
Add four segments in each plane so you have a 5x5 polygon grid on each side of the cube.

Abstract often equals random so the next step is to make a selection of polygons to work with.

First you will need to make the cube editable (C).
Keep in mind that once you do this, there is no going back to the original primitive object, apart from the Undo-command.

Hold Shift and click on the polygons you wish to work with.

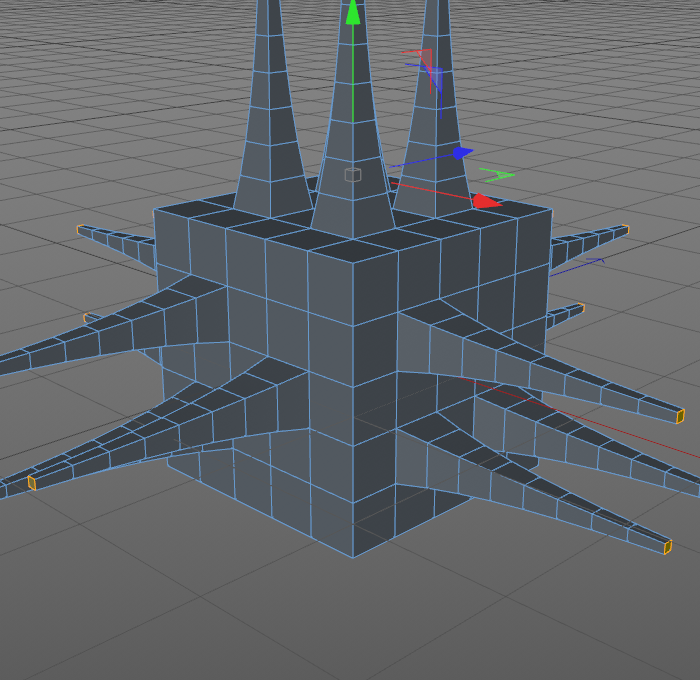
Use the Extrude-, Smooth Shift- and/or Matrix Extrude-tool to add basic extrusions.
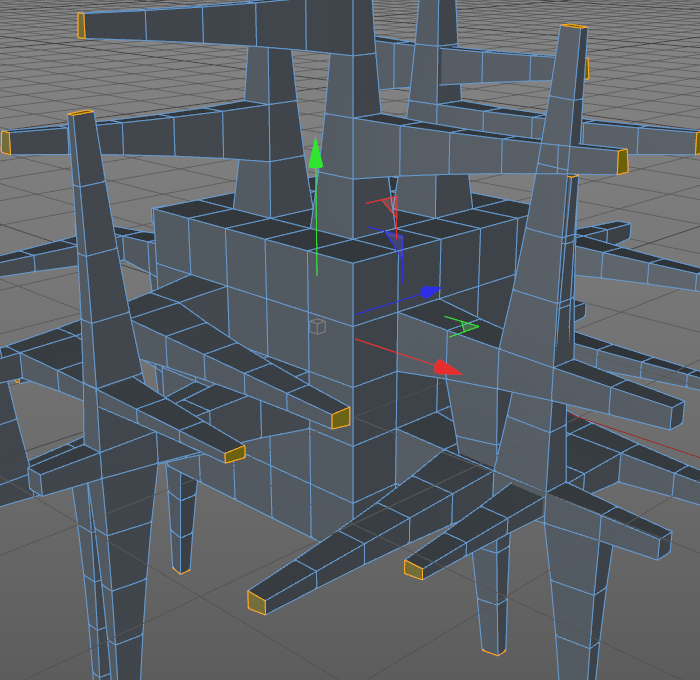
In the image below a Smooth Shift was added to the previously selected polygons.

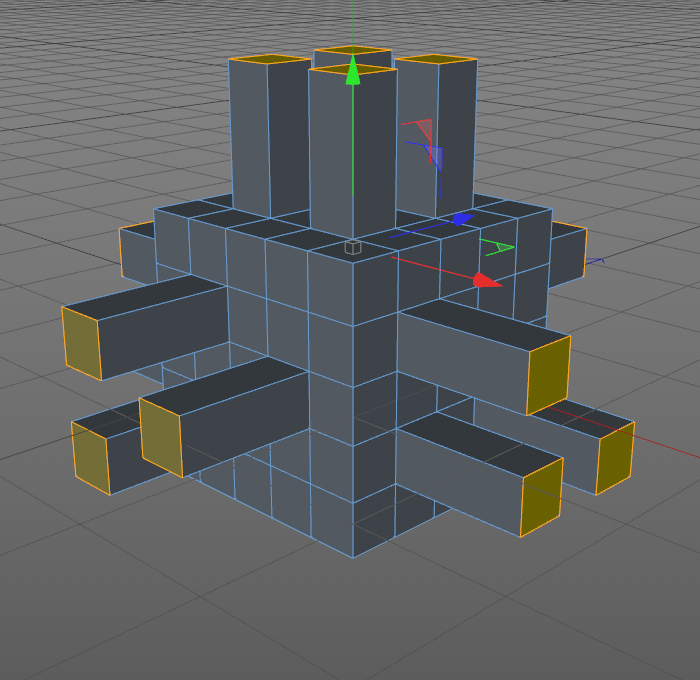
Using the Matrix Extrude you will get something like this:

Once you are satisfied with the first extrusion you can select a new set of polygons on the extruded object.
Extruding that new set of polygons will add a new layer of abstraction to your object.
Another Matrix Extrude was used in the image below:

At any given time you can add subdivisions to your polygons, refining the grid you are working on thus allowing more detail.
This way you can add detail without restriction and end up with the craziest abstract shapes imaginable.

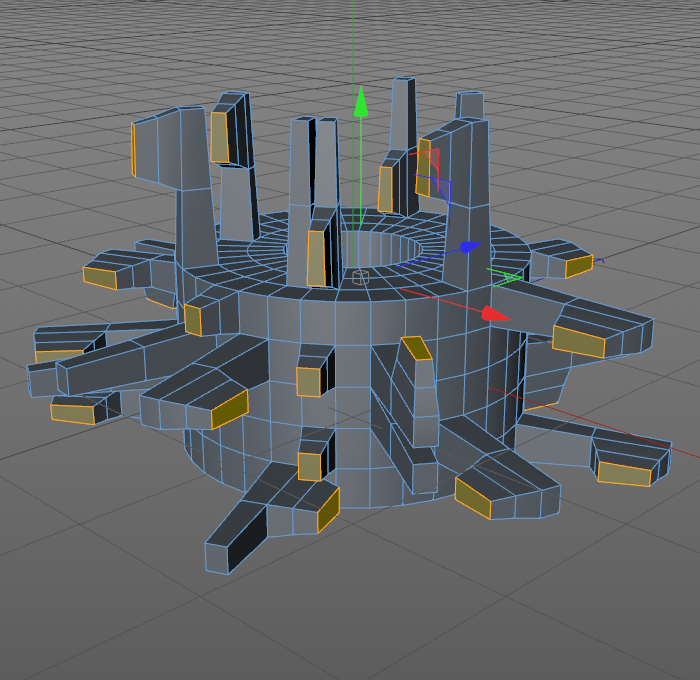
Needless to say that these actions can be done on any other object, e.g. a Tube below.

MoExtrude : Motion Graphics Extrude Deformer

As the title says, MoExtrude is a Deformer, not a destructive modelling tool like the previously discussed tools. 

Like Matrix Extrude, MoExtrude can be used to extrude any number of an object's polygons.
However, unlike Matrix Extrude, MoExtrude allows Effectors to be used on those polygons, just like on a Cloner-object. 

You can add MoExtrude to your extrude objects or you can start off with MoExtrude (the latter will need you to make the object editable again, removing the non-destructive capabilities of the Deformer)


Topoformer plugin

Topoformer is a fantastic plugin by Merk Vilson that can alter an object's topology based on a number of predefined settings.
A great addition when modelling all of the above as a means of adding a lot of detail, very quickly.

You can check it out here: https://gumroad.com/l/topoformer


Free 3D Resources for Cinema 4D.

Free 3D Resources for Cinema 4D.

Backstory.

I often find myself short of time when creating an image.
Creating shaders and models from scratch can be quite timeconsuming, especially when you're trying to focus on your scene and get that atmosphere just right!

In my personal case, by the time I've set my shader's color-, reflectance-, normal-, diffusion-, transparency- and/or displacementmap,
I'm halfway through my creative commute to/from work and need to rush myself to get some output for the following day.
Combine that with custom 3D modelling and that 1,5 hour of so-called creativity has yielded absolutely nothing.

Free 3D Resources - Shaders and 3D Models.


However, luckily for me and many others, you can find a huge array of free high-quality preset assets online.

Here's a summation of online resources I frequently browse, reducing the time setting up technicalities so I can focus on giving my renders real production value.


Shaders

C4DCenter - 4K textures

William Willoughby is a graphic designer from Fort Lauderdale, Florida who found his niche in the 3D Community as a Texture Artist using Substance Designer.
He began to create custom shaders from Substance Designer in Cinema 4D and is now giving them out for free.

You can browse through his vast collection here : https://c4dcenter.com/material-library/

Google Earth Pro + Materialize.exe

What's to gain from GE you say?
Few people know you can download high-resolution satellite imagery from GE (up to 4800x3256!).
Zoom in on the type of landscape you need and hit 'Save image'.
Select the resolution of your choice (might as well pick the highest) and you're set.


Materialize.exe is a stand alone tool for creating materials in games from images.
It is completely free for use and lets you create a complete material (normal-, displacement-, ..maps) in just a few clicks.

This is where it all comes together.
Zoom in on, let's say, Texas, download the image, convert using Materializer and your highly detailled dusty desert setting is all set in just a few clicks.
Throw in some Austrialian Outback or the salty flats in Utah!
Time to get creative.


3D-models

Free3D

On Free3D.com you will undoubtedly find what you are looking for.
You can filter on the type of file you prefer (.fbx,.obj,.c4d,..and/or the type of object you're looking for (furniture, houses, cars, animals,...).
No registration needed, just go online and get your assets!


TurboSquid

Similar to Free3D.com you can almost find anything here.
They also have a huge paid section.

Mixamo - Rigged Characters.

You can download characters all you want but if they aren't rigged there's only that much you can do with them.
Unless you're going to rig them yourself, which isn't really the goal of this post.

Mixamo is a 3D computer graphics company based in San Francisco that develops and sells web-based services for 3D character animation.

On Mixamo you can combine preset characters with preset character animations and download them for free after signing in ... for free ;-)
Their library is vast and the quality of the animations is incredible.


3DWarehouse

3DWarehouse formerly known as Google Warehouse is packed with 3D models modellerd in Google Sketchup.
Needless to say you can find a lot of architectural stuff like furniture, lighting fixtures, cars, food, ...


Quick Landscaping using Sub-Polygon Displacement in Cinema 4D

Quick Landscaping using Sub-Polygon Displacement in Cinema 4D

What is Sub-Polygon Displacement?

Sub-Polygon Displacement or SPD is a displacement feature in Cinema 4D that uses Cinema 4D’s advanced memory management system to render highly subdivided objects by adding virtual polygons to real geometry. Sub-polygon Displacement adds to the render time but allows users to navigate smoothly through the viewport, without having to create heavily subdivided objects and slowing down your workflow.

When creating a scene I always start out with creating an environment. These environments often consist of a set of Landscape-objects and/or planes; >5 landscapes is no exception.
Each landscape/plane has its number of subdivisions and the more subdivisions in your scene, the slower your viewport tends to respond.
Here’s an insight on creating highly detailed landscapes without jamming up your creative process.

Polygon Count versus Subdivision level: Determine the SPD subdivision

The subdivision level determines the number of SPD subdivisions. These subdivisions are applied to the entire object, so you may want to delete some invisible polygons to lower your surface count.

Not all objects in your scene will have the same number of polygons, so it’s important to optimize your displacement material per object. Low polycounts result in loss of detail, high polycounts may leave you waiting hours on end without even making a visible difference…

There are two approaches when setting up your displacement:

  • Increase the number of subdivisions on real geometry;
  • Increase the Subdivision level in the Displacement channel.

By keeping both in sync, you can find a perfect balance between a smooth viewport and acceptable render times.

The mathematical link between the real geometry’s polycount and the number of virtual polygons before displacement

Luckily for us, there’s a mathematical formula we can use to determine the rendered number of polygons (virtual polygons) in function of the subdivision level and polygons in the real geometry.

# virtual polygons = # real polygons x 2 (2x subdivision level)

For instance; insert a plane with both width-and height segments at 50 (50x50 = 2,500 polygons).
Assign a displacement material to the plane and set the subdivision level to 4.
The number of virtual polygons will be 2,500 x 2 (2x 4) = 2,500 x 256 = 640,000 virtual polygons.

The added benefit of this Subdivision level is that you go up to 12, whilst a standard Cinema 4D Plane-object can only contain 1,000,000 polygons without being made editable.

Quick math reveals that a subdivision level of 12 can elevate your real geometry’s polycount by a factor 16,777,216, meaning a rendered plane of 1x1 can contain more detail than one of 1,000x1,000.

Lagging viewport

As shown above you can reduce the number of real subdivisions and still manage to maintain detailed deformation thanks to the subdivision level.
This comes in handy when having a ton of objects in your scene and you still want to manoeuvre around with ease.
As a laptop commuter I speak from experience when I say that a 5,000,000 polygon object (e.g. 5 landscapes with segments 1000x1000) combined with overenthusiastic viewport curiosity is the perfect recipe for a lagging viewport and ultimately even Application Error Disaster.
Instead of going back and forth between low and high real subdivisions (low to move around, high to render), you can keep the number of real polygons low and the subdivision level high.


High-quality landscapes using Cinema 4D Noise

Standard Landscape object in Cinema 4D

The standard Landscape object in Cinema 4D can be a real timesaver when creating environments in Cinema 4D: Insert the Landscape object, play around with the sea-and plateau level and browse through a seemingly endless array of seeds.
However, a Landscape object will only take you so far, as width-and height segments limit the object to a fairly modest 1,000,000 real polygons, thus keeping your landscape crisp only from a distance.

Adding virtual polygons to the standard Landscape object using Cinema 4D Noise

As previously mentioned you can add virtual polygons to real geometry to enhance the rendered detail on that said geometry.
Adding SPD to your Landscape object will literally lift your Landscape to new heights and will let you get up close and personal without losing detail.

A great way of adding extra, procedural detail is using the Noise Shader in the SPD channel.
You can easily define the level of detail in the shader itself by tweaking the octaves and define the magnitude of the noise in the Scale settings.

Personal Cinema 4D Noise preferences

However, not all Noises are suitable for creating rocky landscapes and some Noises will take longer to calculate than others.
My favourite Noises are Stupl and Blistered Turbulence, with a Global Scale set to approx. 300%.
If you’re going for a Concrete look, you might want to explore Displaced Voronoi, set to approx. 250%. These Voronoi Noises will add to your render time, however.

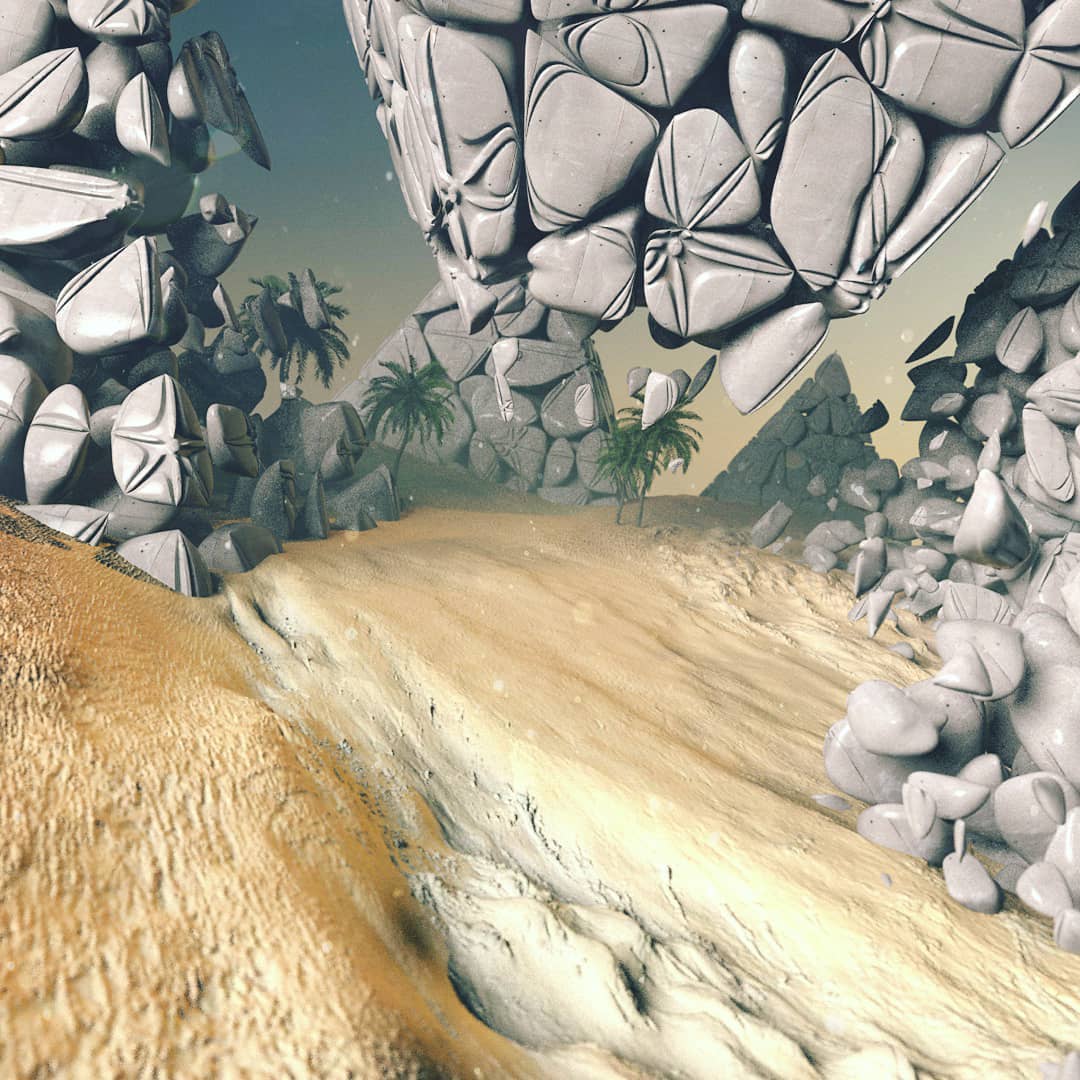
Below are a few examples of renders I created with a Landscape object in combination with sub-polygon displacement. Be sure to check out the built-in Sand material, as it is a great base material to start off from:

  • POZZO PULSAR - A more gentle landscape given more detail thanks to a subtle Stupl Noise
     
  • ÉTRETAT 2.6M - A hugely overscaled displacement warps both centerpieces beyond recognition!
     
  • DAMNWAND - An almost flat landscape, flirting with the water surface.


Painting in Colour with Volumetric Lighting

Painting in Colour with Volumetric Lighting

WHAT IS VOLUMETRIC LIGHTING

Volumetric lighting is a technique in 3D software to add lighting effects to a rendered scene. Sunbeams through an open window, environmental lights and so-called god rays (sunrays radiating through the clouds) are all examples of volumetric lighting.

Besides creating volumetric lighting effects, you can also use this feature to blend together different objects in your scene and add strokes of colour as if you were painting like the great Impressionists did, many decades ago.

I find myself using volumetric lighting on a daily basis, creating mystical atmospheres and nebulous surroundings with just two or three lightsources.

SPOTLIGHTS & NON-ILLUMINATING OMNILIGHTS.

In 75% of all VL-related projects I start out with one or two volumetric spotlights, castings strokes of light, fading with distance.
Use them as backlights to create a silhouette of the main object in your scene or set the right mood by using just one, posing as a rising or setting sun.

Not all lightsources have to emit light. Instead of adding patches of colour in post-production, you can easily use a volumetric, non-illuminating omnilight to set colour accents in a 3D space. 

EXAMPLE FILES OF VOLUMETRIC LIGHTING.

I've listed a few of my Cinema 4D projecfiles below, illustrating the power of volumetric lighting. 

  • ATMOSPHERICAL BACKDROP - A huge pink volumetric light in combination with a central green volumetric omnilight.
     
  • LOW MOON - A huge blue volumetric light filling the background, setting the right mood for a bright yellow, volumetric moon.
     
  • MIDNIGHT DELAY - A deep blue night sky, tall grass populated by glowing fireflies and a cellphone screen saying "NOPE".
     
  • DECAY - Both deep orange spotlights ánd omnilights, almost voiding the hint of blue volumetric lighting in the front.
     
  • TRIPPIN' BAWLS - It doesn't get more full-on volumetric than this! An orange spotlight casting rays from the left, deeper orange volumetrics from the right and the floor is covered in a bright, indigo mist.


Simulating Edge Wear using Inverse Ambient Occlusion.

Simulating Edge Wear using Inverse Ambient Occlusion.

WHAT IS INVERSE AMBIENT OCCLUSION

The Inverse Ambient Occlusion setting was introduced in Cinema 4D R18 as a way of quickly simulating SSS (Sub-Surface Scattering) and Edge Wear.

Standard Ambient Occlusion will cast rays outward, creating shallow shadows on contact surfaces.
Inverse AO will cast rays inward, resulting in fake, but fast-rendering, SSS.

Inverting the normals when calculating AO provides a mask of the bare surfaces; allowing the user to add layers of worn textures and create custom Edge Wear on any given object.