Quick Vibrant Geometric renders using Anisotropy in Cinema 4D

What is Anisotropy?
Anisotropy is the property of being directionally dependent, which implies different properties in different directions, as opposed to isotropy.
In the field of computer graphics, an anisotropic surface changes in appearance as it rotates about its geometric normal.
Cinema 4D defines this as follows:
Anisotropic effects are produced when many fine microscopic scratches are oriented in a specific direction on an object’s surface (as is the case with brushed metal, for example).
Specular highlights and reflections will then be "dragged” in the direction of these scratches.
In addition to microscopic scratches, larger ridges can also be created in the direction of the scratches.
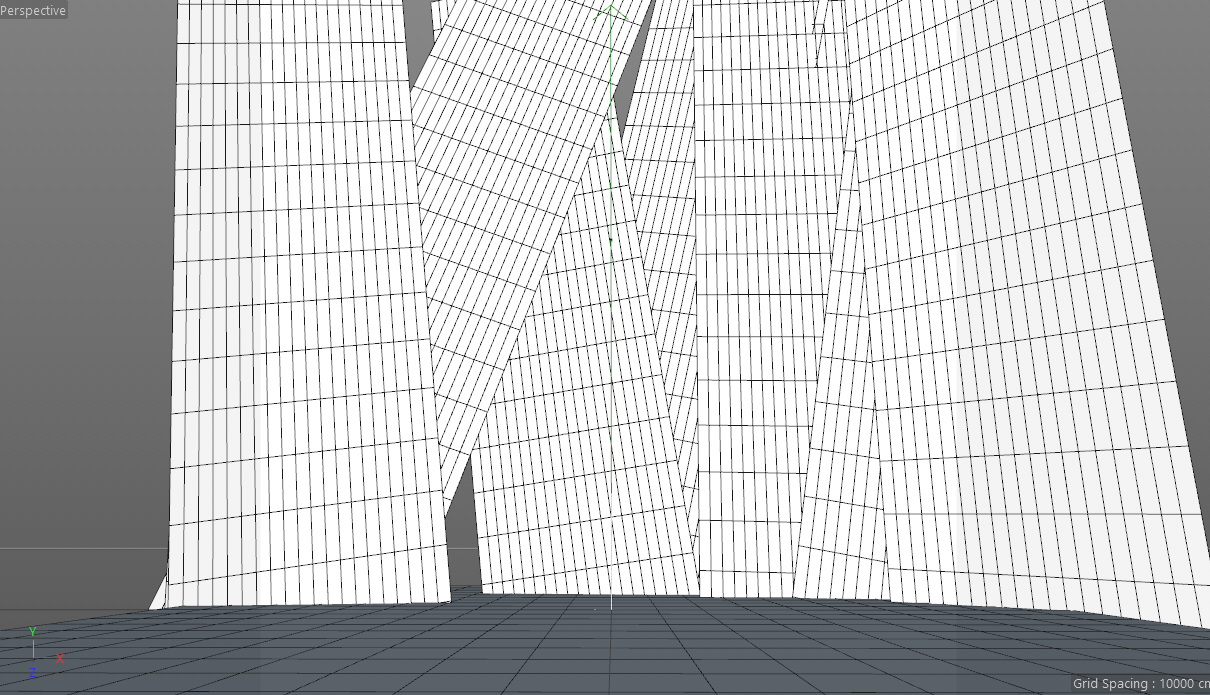
Setting up the geometry.
As stated in the text above, anisotropic effects can add many (fine microscopic) details in to an object's surface.
This way there's no need for intricate modelling to get more detail in your surfaces.
Below I've set up a scene with a couple of randomly positioned planes and another plane serving as the floor.
Nothing too fancy.
Reflectance and Anisotropy.
Since R16 the Reflection Channel has been replaced by the Reflectance Channel,
Anisotropy is part of the Reflectance channel rather than the Lumas Shader to be used in the Luminance ChanneL.
Under 'Layer Anisotropy' you can find a number of settings used to specify the look you are after.
There are four preset Patterns you can use:
- Circular
- Box
- Diagonal
- Lattice
In addition you can add a custom Pattern and alter the Layer Anisotropy's projection (Radial/Planar).
If you are in lack of time to study every Pattern, the guys at GSG have made a very usefull plugin called Topcoat.
Topcoat is a texturing plugin that makes reflectance and adding realistic reflection to your scene easy and beautiful.
Apart from 8 reflection types and 12 masks and alpha types, there's also built in Anisotropy for instant brushed metal looks.
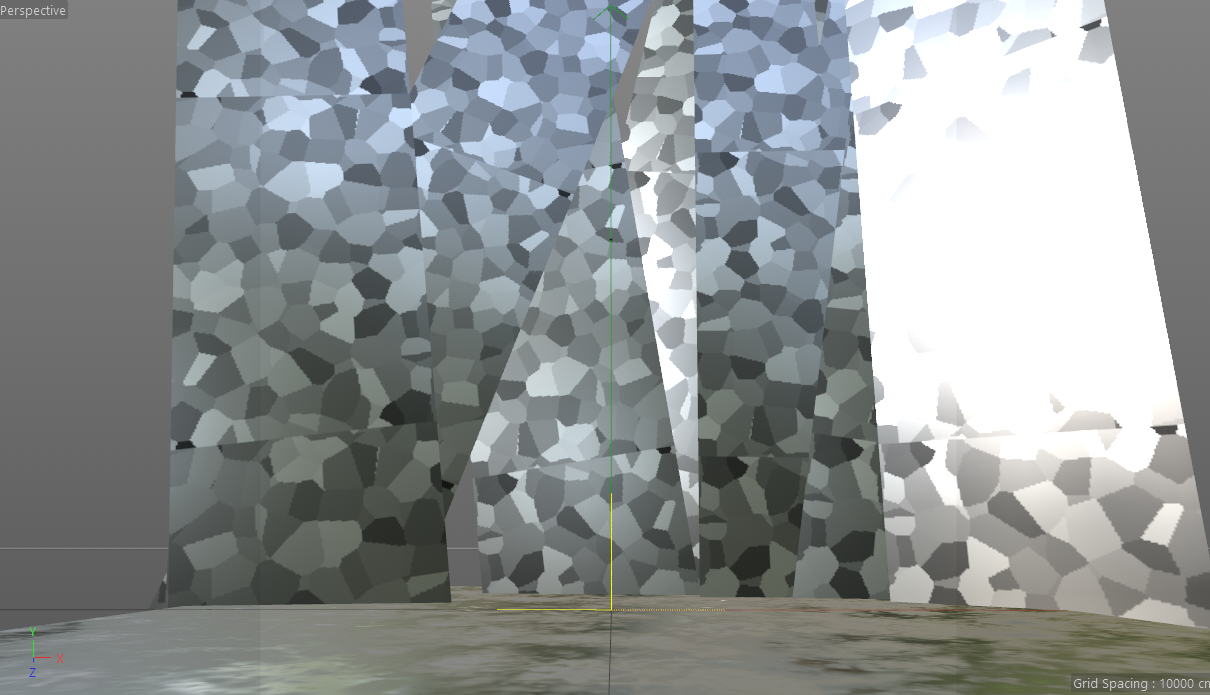
The goal with the current scene is to make the random planes reflect light anisotropically and add some basic blurry reflections to the floor.
Add one material on the planes, the other on the floor and start experimenting with what looks best.
I combined a circular and vertical pattern to the random planes and ended up with this:
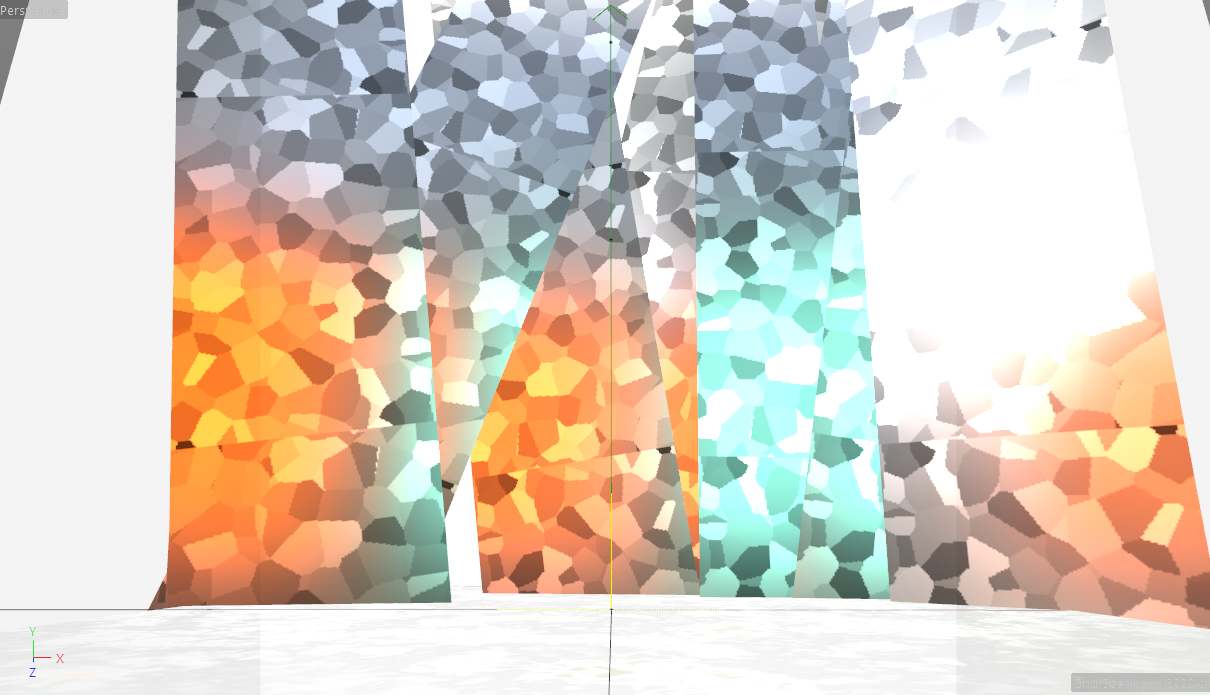
Make it pop!
Without a light source there's no reflection, so you will need to add a few light sources to the scene first.
Keep your color scheme in mind and add two or three studiolights (lightsource + luminance plane) to the scene.
The lightsources will light the scene, the luminance planes will bring out the anisotropic properties.
The brighter the luminance, the more it will bring out the anisotropic effects!
Final result:
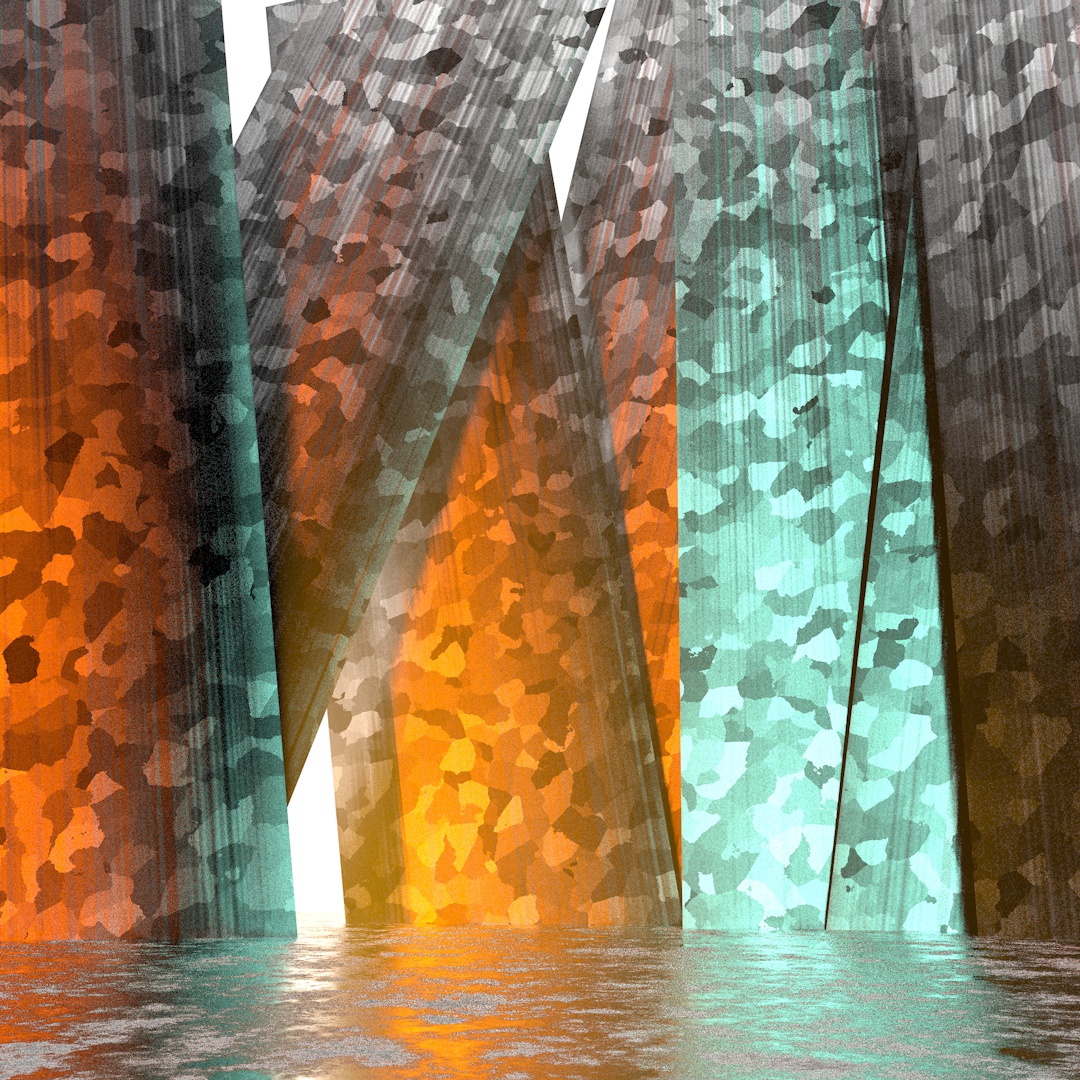
Desktopwallpapers for life! ;-)